MVT9 ADAS Setup and Calibration
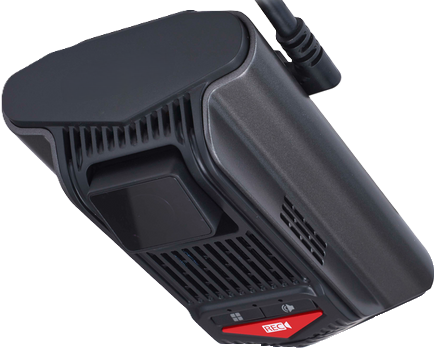
This guide covers the setup and calibration of the forward facing ADAS camera.
Once the basic installation and DSM setup has been completed, The ADAS camera can now be setup and calibrated (if required for your use case).
To correctly calibrate the ADAS camera you will need a tape measure and the MVT-9 mobile app downloaded to access the camera

Measurements
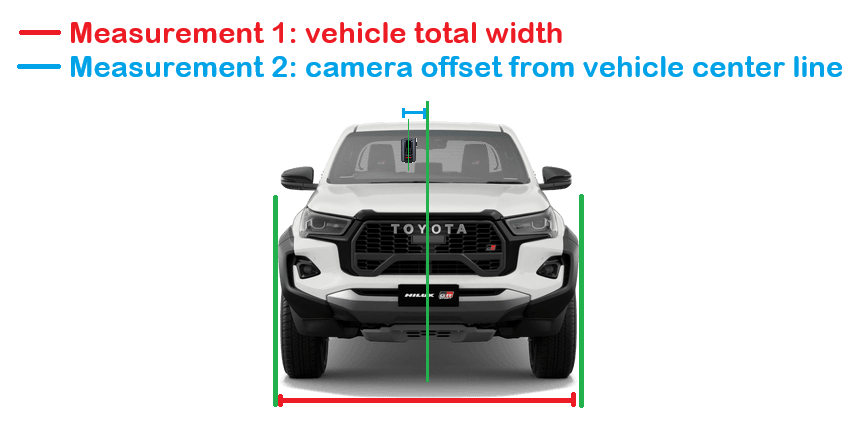
Step 1 - Take measurements of the following:
Vehicle body width
Camera to axle
Camera to bumper
Camera height
Camera off-centre

Open the MVT-9 app and follow the prompts to connect to the device
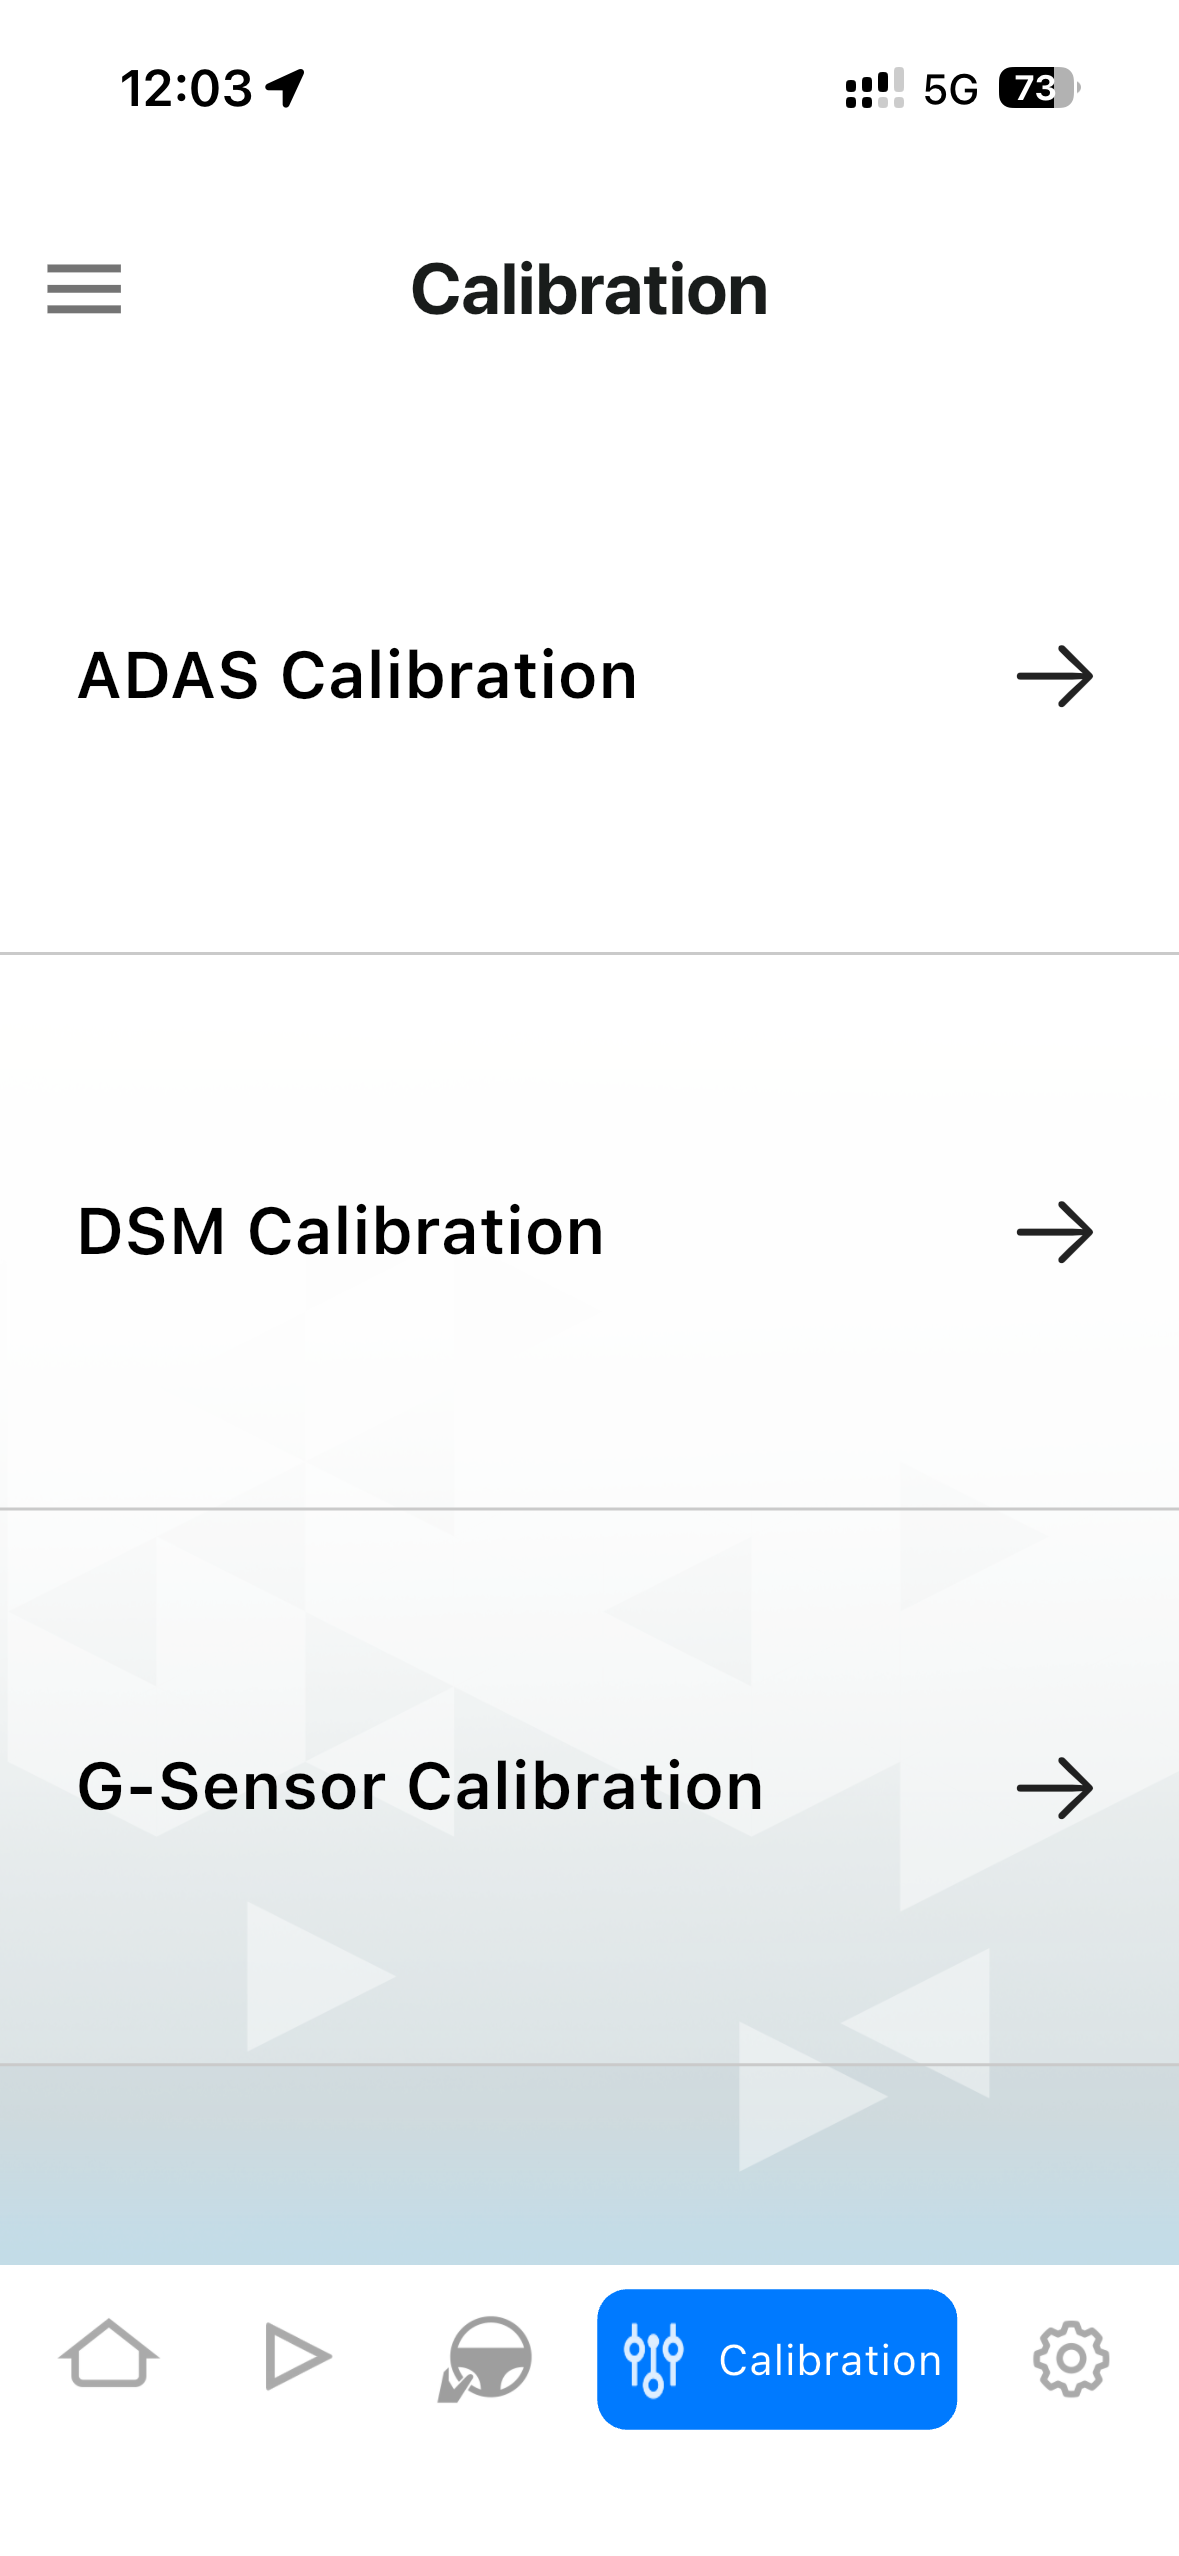
Navigate to the calibration page and select ADAS calibration
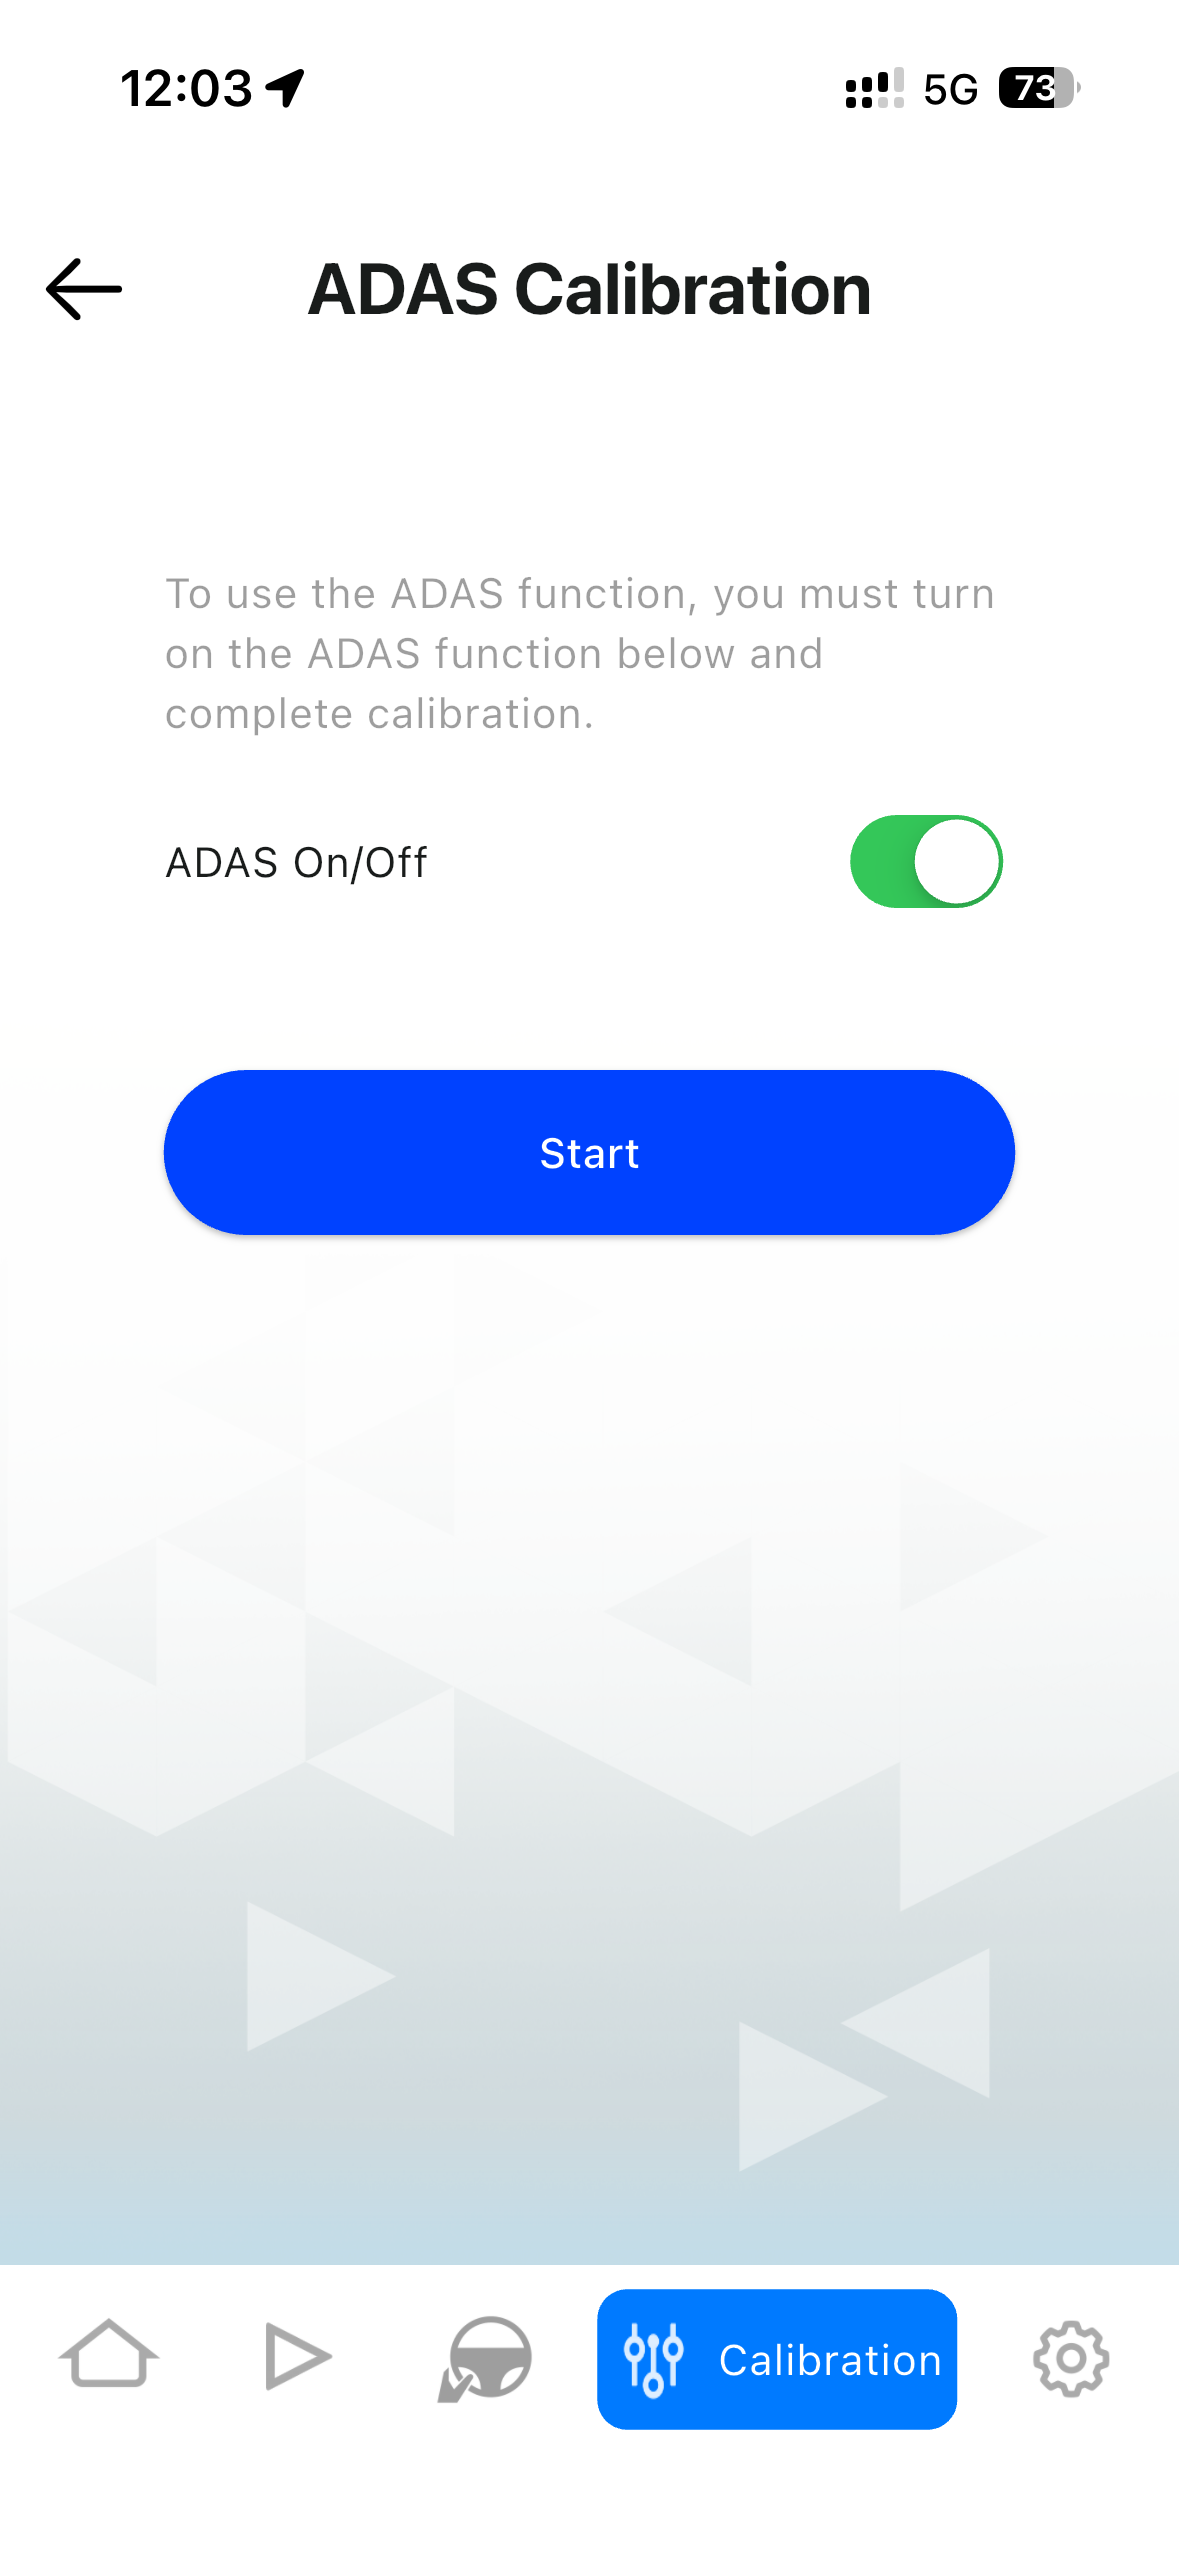
Enable ADAS and click START
Configure Camera App
Input all the measurements from the vehicle then click the next arrow in the top right corner

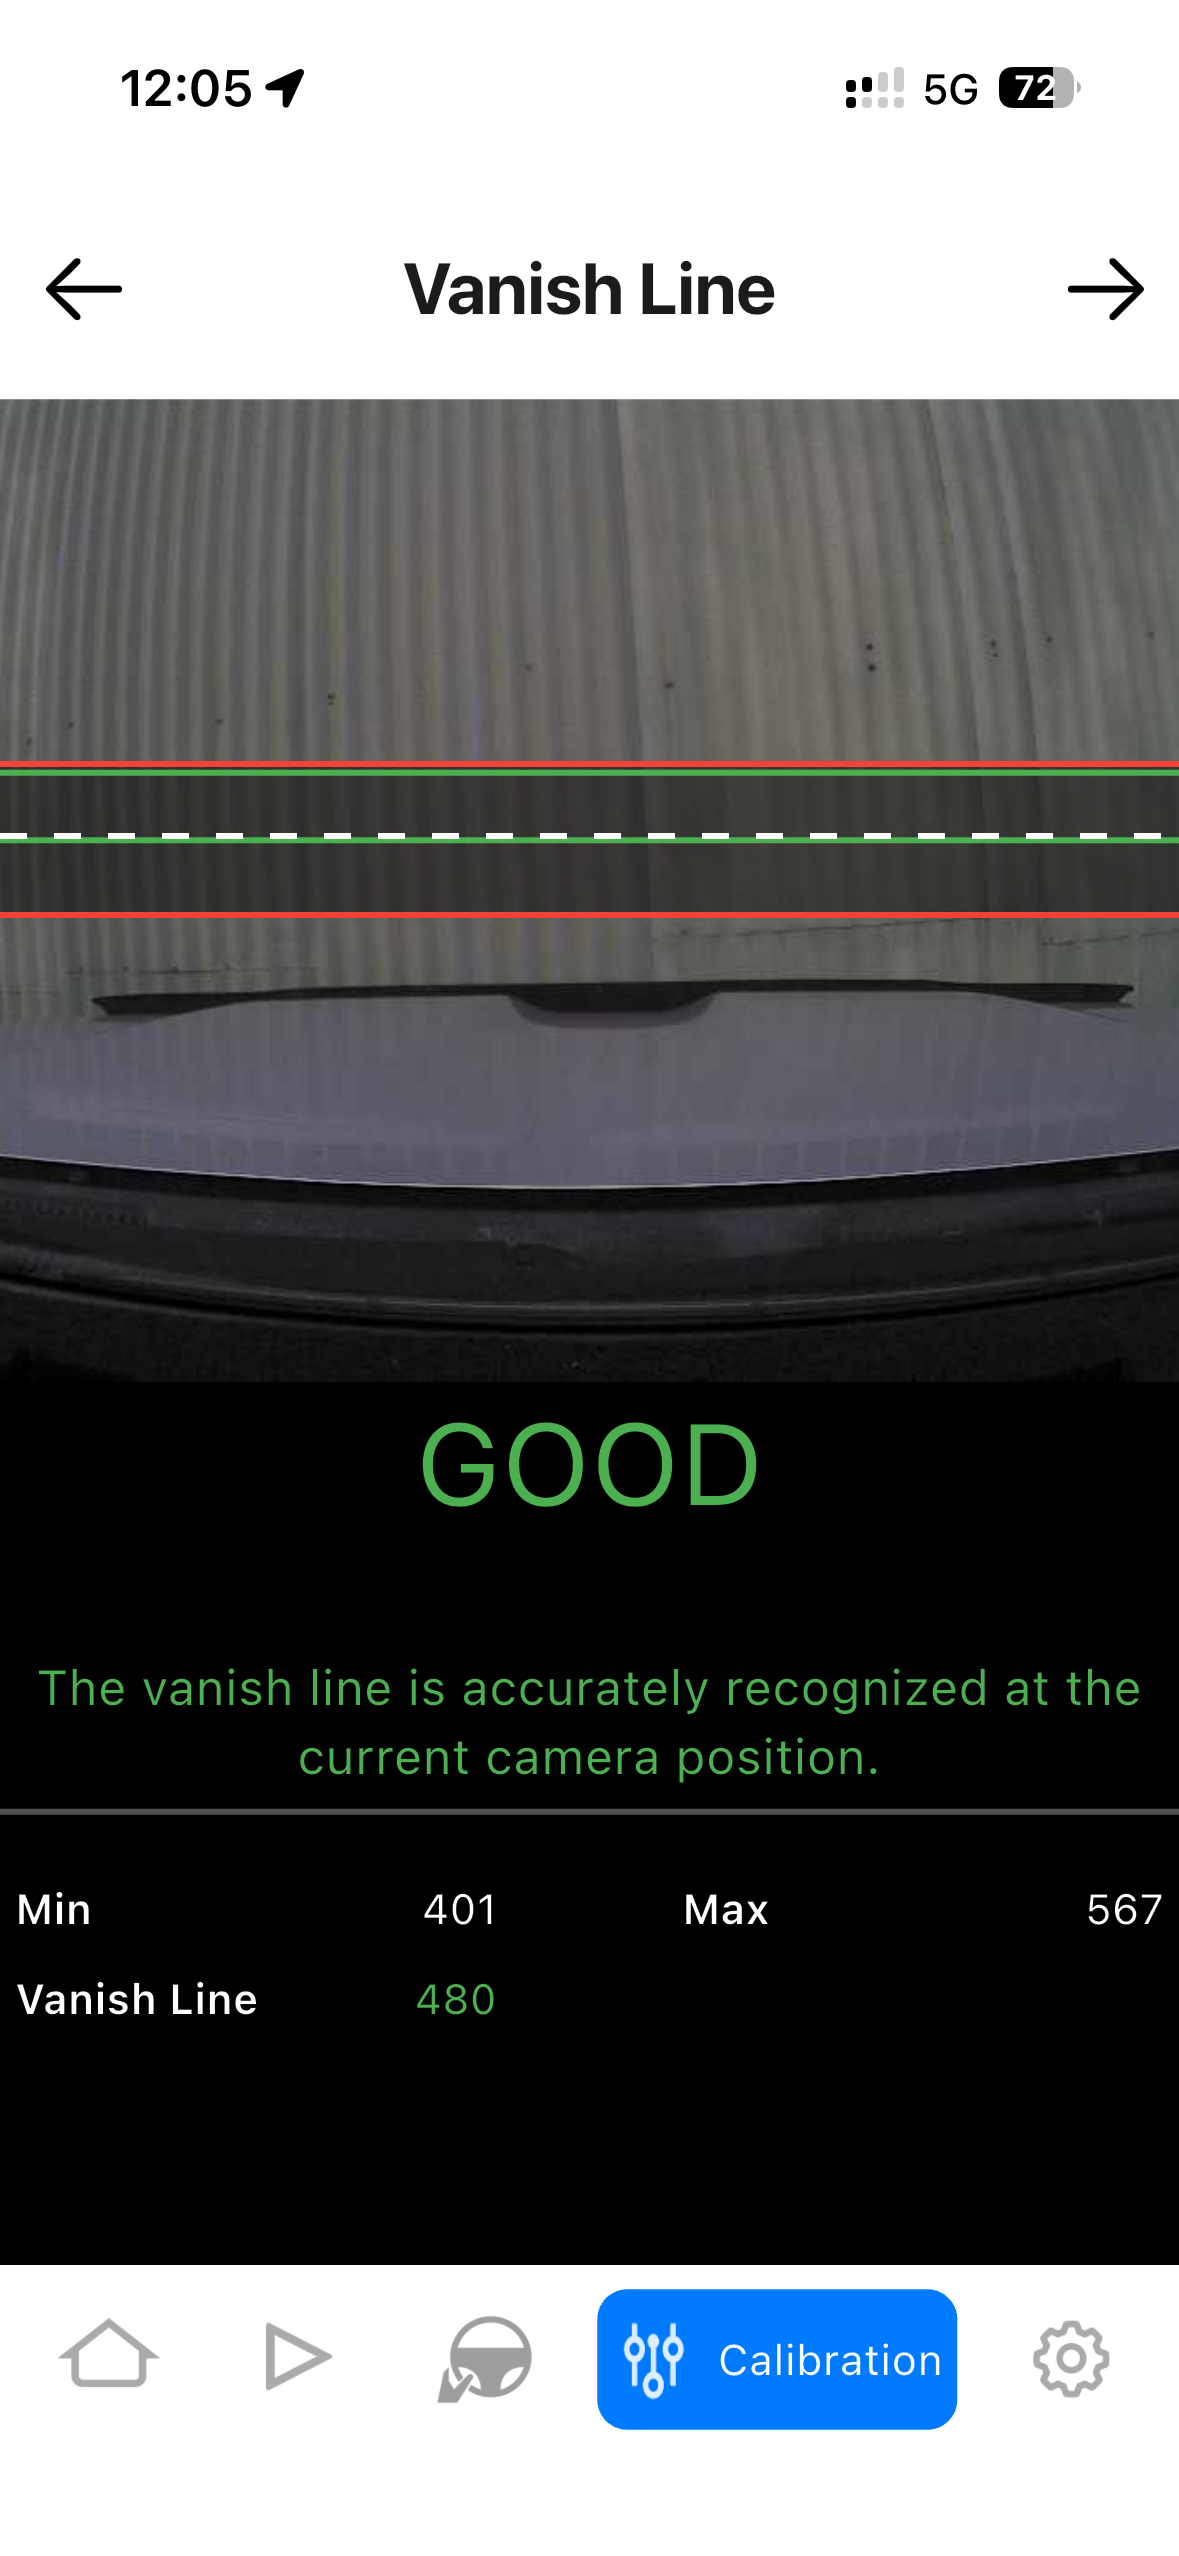
Make sure the vehicle is on flat level ground, then manually tilt the front camera until the dotted line is within the two green lines.
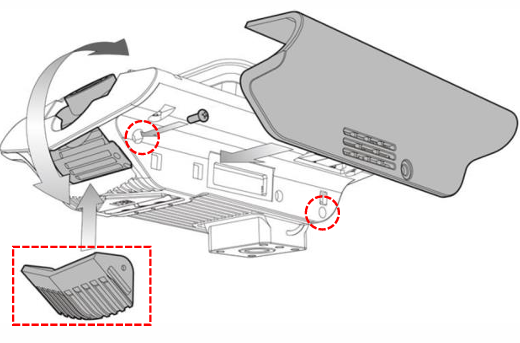
Once in a good position, insert and tighten up the camera lock screw to prevent the camera moving

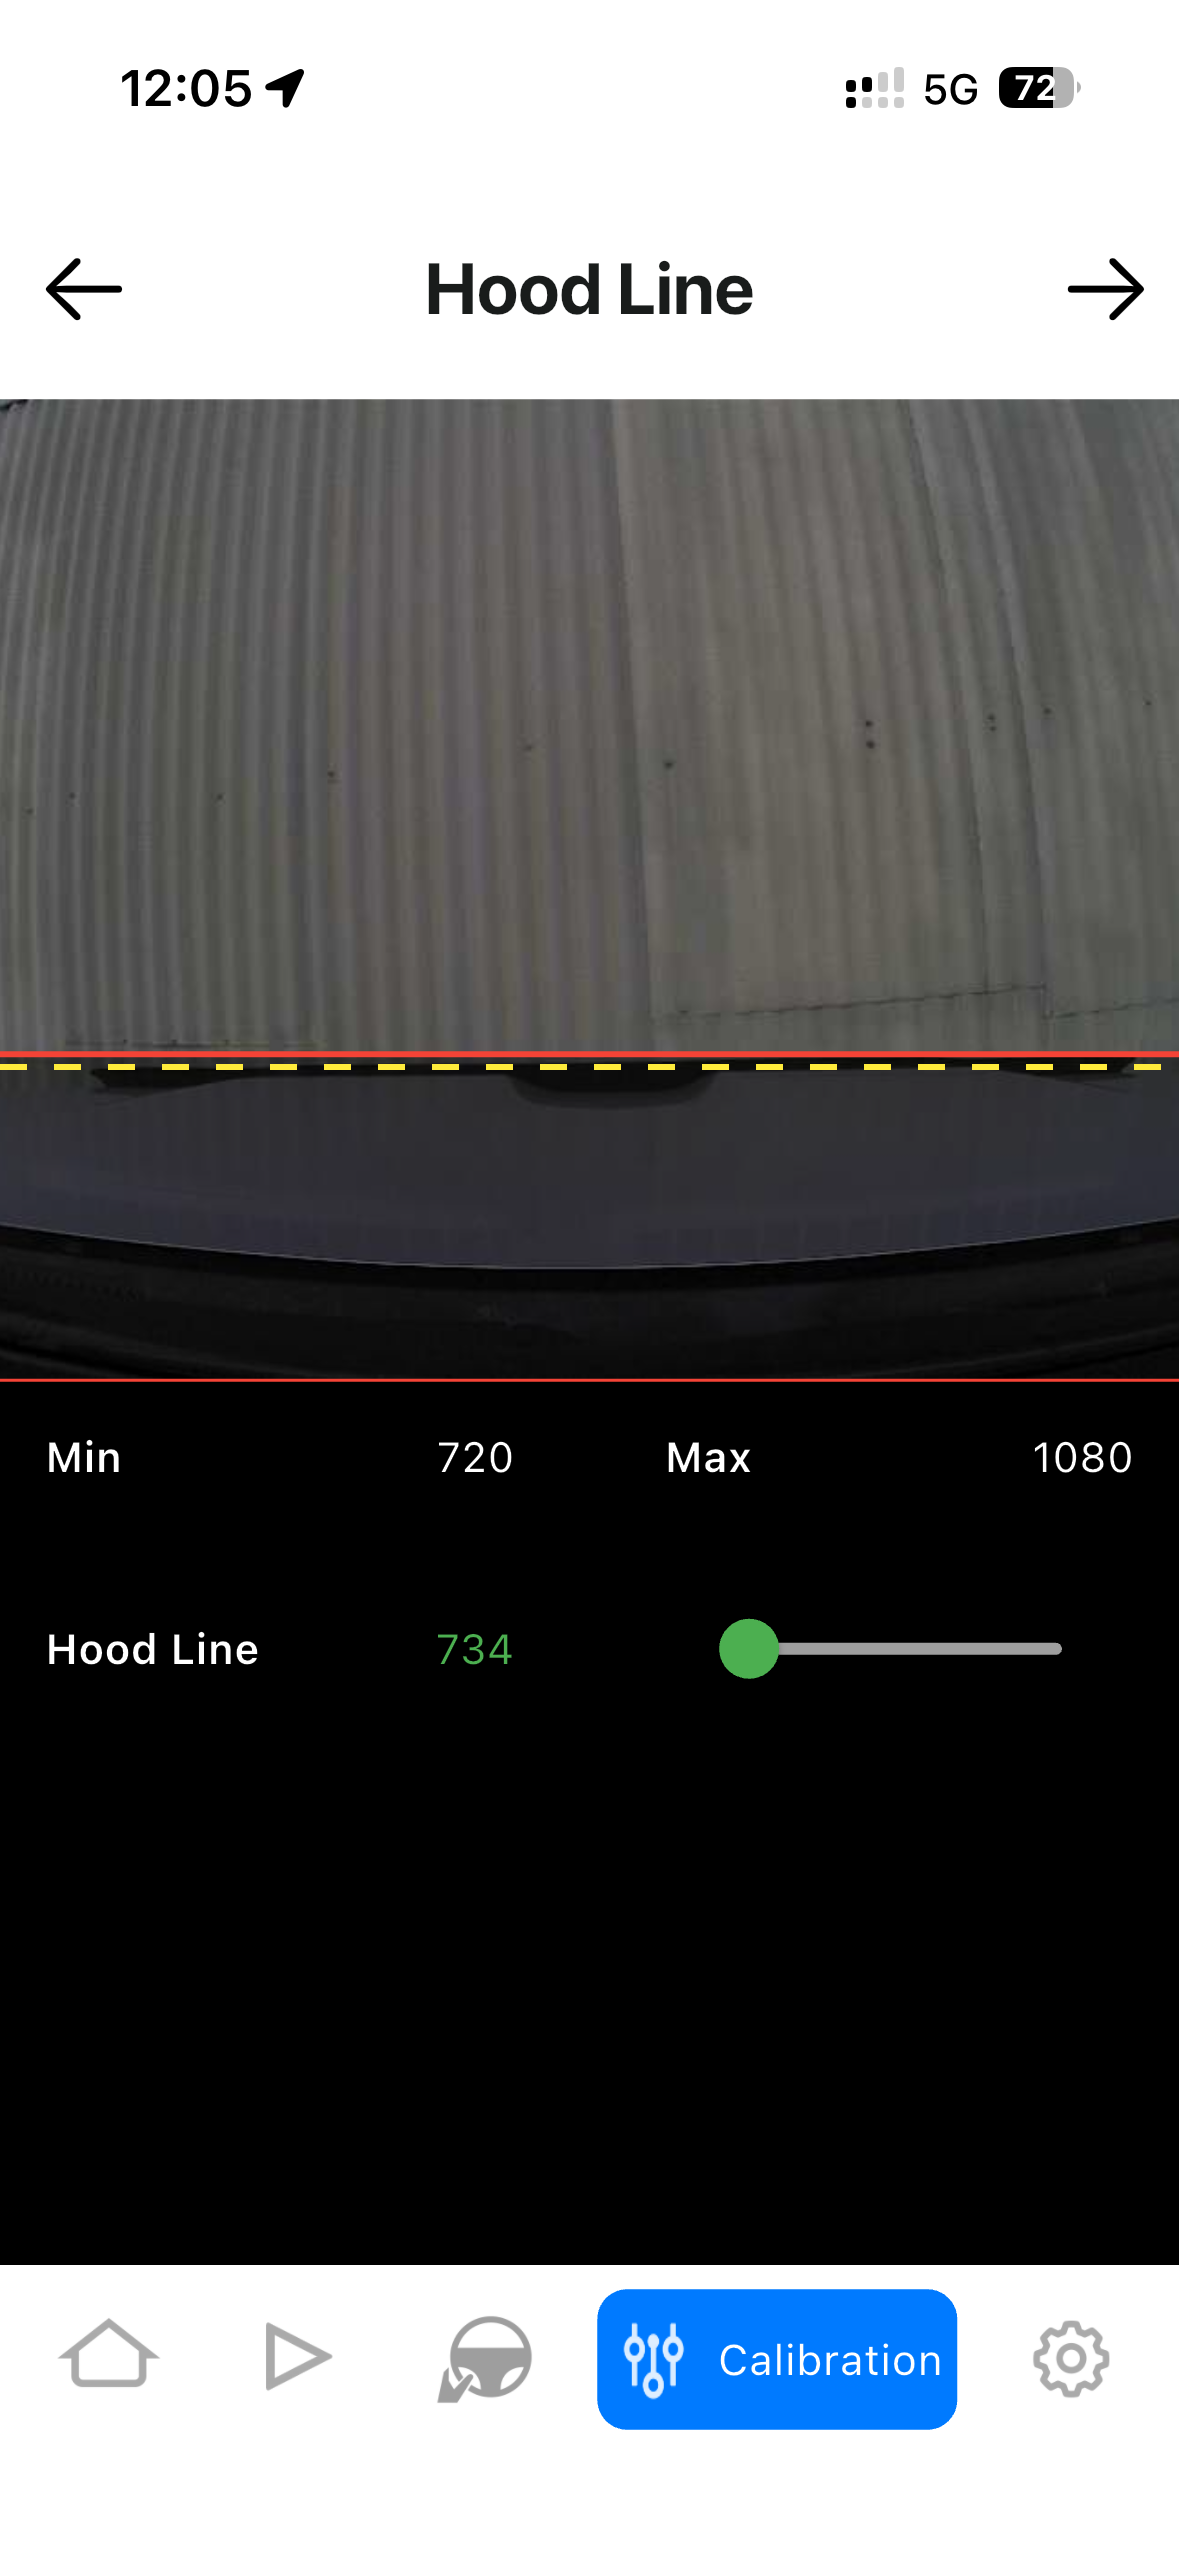
Now set the hood line by sliding the green toggle and placing the dotted line on the front of the bonnet.
Then click the next arrow (top right)
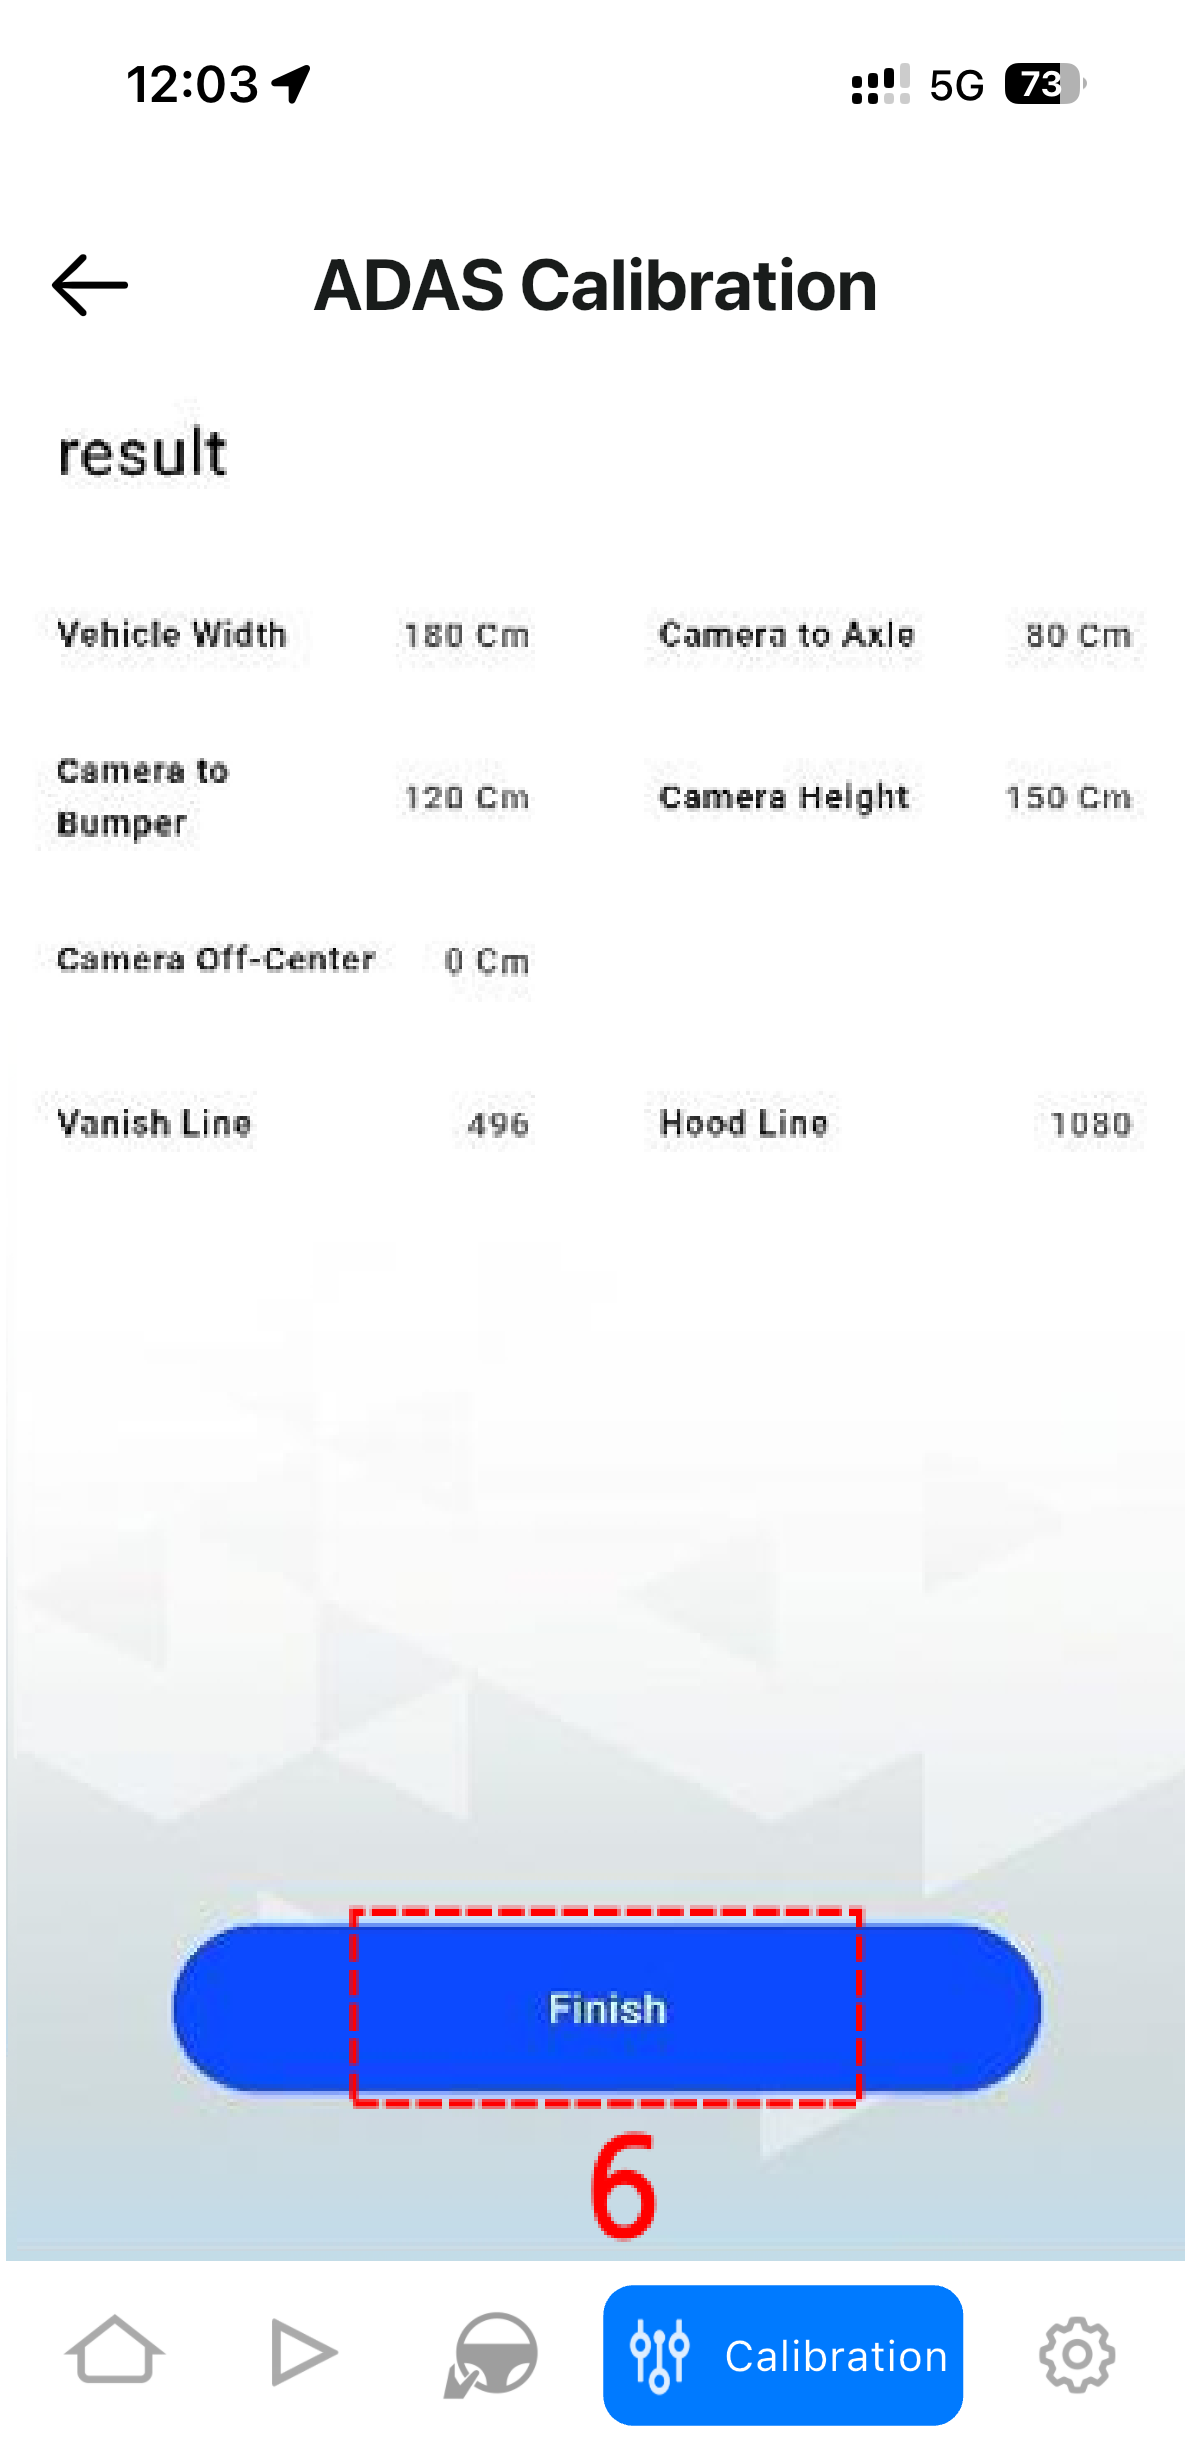
Confirm your settings and click finish